Monday 29 April 2013

Euphorbia

Intricate,
 bright, 
 colourful,                
amazing 
 Nature!

Euphorbia in my garden. 

Sunday 28 April 2013

This Week

Monday, early,  grey sky journey. This plane looked huge and impressive gliding through the clouds. 
 Friday inset day at school. The doors to the building site were open. This is the nursery. It looks big doesn't it? Just hope it has enough storage!
 Cryptic construction message. I like the colours. 
 Evening sky that should be filled with choirs of angels.
 Prettily weathered garage doors and meadow like driveway, near my hairdresser's. Had my roots done and fringe trimmed on Friday and had a lovely conversation with the hairdresser and receptionist about craft. It was started because I was crocheting while my hair steeped, and the Receptionist also crochets, makes jewellery and all sorts of other things. The hairdresser was planning to customise some converse shoes with diamanté herself so I want to see these next time I go!
Daffodils are only £1 a bunch in Sainsbury's so I bought five bunches, to be able to realise my vision (sounds a bit pompous!) of a load of flowers in this lovely black speckled enamel pan I found last week. It hasn't got a lid so I thought decorative use rather than cooking. The daffodils are in four smaller vases. They are starting to open today. Looking at the photo I have realised that Tiger's bulk is obscuring the pan! Will put another picture at the end! (I was trying to photograph Tiger rather than the pan)
Football watching with nibbles last night, with Andy's brother and nephew. Newcastle v. Liverpool, who, even without the very bad Suarez managed to win 6-0. Oh dear! Though my nephew is a Liverpool fan so at least one of them was happy! The salt and pepper nuts on the right are delicious, as are those bright green olives.
Whilst we watched the footie, I finished off two of the things I have worked on this week. The first are my latest slippers, and the pair that have worked the best so far. Once I stop doing the tube part for the toe and start the back and forth bit for the arch and heel, I only left a gap of one stitch on the top of the foot. This means that they stay on! These are done in single rather than double crochet (U.S. single and double) which makes them  much closer fabric which I prefer. I just roughly doubled the amount of rows but kept the same amount of stitches around. The pentagon decorations were meant to be flowers but they turned out like this. So now I can make a pentagon! (R1. ch 5, join in ring with slip stitch R 2. ch 3, 10 dc into ring R3. ch 3, dc into first dc, 2 dc into next dc, repeat to end of round. (15 stitches)R4. -*dc into 1st stitch, dc into second stitch, (sc, 2dc, sc into third stitch), repeat from *till end of the round. (Need to learn how to write patterns properly!)
The pink yarn is from our trip to East London a while ago. I just love the colours in this yarn. The blue is some I have had for ages and the slippers used it up nicely.
My star is now finished. I enjoyed sewing the sequins and beads on. She is not really suitable to play with so I am going to hang her up in my classroom I think.

Lily and Cassie enjoying a bit of coldy sunshine this morning. Coldy is a word my class use when we do the weather in the morning. It is an example of that lovely and logical way that children develop their language-sunny, windy, rainy-coldy! Makes perfect sense. I do say, things like 'Oh yes, it is very cold today' as that is my job-but I love those childish 'mistakes' which are not really mistakes at all, just learning in action.

The beginnings of tadpoles. Need to get the ivy out of the pond. Ivy could survive the apocalypse I am sure.
Not the best photo but you can see the pan!

Monday 22 April 2013

A Random Selection

It was a good week last week and a lovely sunny weekend. I have taken loads of photos but have not felt like blogging much. I don't know why, but I have been using my time in other ways instead! 

CATS
Early morning expedition.......
Late night contemplation...
They love the position of the fridge door holding chair. 
Tiger makes her feelings clear.
Lily discovers a ball of wool.

SKIES
Moody background to noisy building.
Bright blue to show off the yellow catkins.
Cloud and sun.
This sky is so liquid looking. A heron flew over when it was like this. They make a kind of weird quacking noise. At least I think it was a heron. The photo I took was so small it was a speck, but it looked like one to me.

MADE THINGS
Little felt horse-pattern from an eighties soft toy book. I have a good collection of old toy making books and they are full of great ideas and advice.
Alstroemeria painting on old postcard.

I have been looking for a stool to crochet a cover for, since seeing and liking so many on the internet. I finally found one in Rye in the holidays and have now finished the cover. I chose colours that go with our rugs. I really like it. I have another little stool  to cover too and I want to re-do the kitchen chairs so they may get the crochet treatment too.
 Appliqué teacup for a zipped bag I made this weekend. After being sent this tutorial  on So Sew Something by Tracy (thanks Tracy!) I can now do lined zipped bags. I have only made a couple but they are fairly easy and fun.

Another old toy book idea-this one from 1941. (Make Your Own Soft Toys by Ruby Evans. A Woman's Magazine handbook) It was 50p in Rye-due I think to the poor state of the cover and first few pages-a lot of pencil colouring! But it is full of sweet ideas and useful information.

"If your taste runs to quaint and amusing mascots, you will like to produce long-legged dolls, lucky cats and other comical creatures. All kinds will be welcomed as gifts, and, if you are interested-as so many of us are-in a bazaar or sale-of-work, you will find that well-made toys have a ready sale, and show a generous profit over cost of materials.
 Aim always at natural and pleasant-looking toys. The days of ugly and grotesque toys are fortunately over, and we find it much better to let our animal toys resemble their living counterparts as closely as possible."

I would love to know more about the days of ugly and grotesque toys! It is interesting how she is writing about selling toys. Nothing much changes does it?!

Saturday 13 April 2013

Works in Progress

The strange and not to everyone's taste little doll on the right came home with me from Greenwich a couple of weeks ago. His friend on the left is the beginning of a copycat doll. Linda Sue sent me lots of the plastic face masks ages ago (thanks Linda Sue!), and they are all in a glass jar (an arrangement seen on pinterest which I liked) but this one has now come out of the jar and been painfully sewn into a hat. (Painful for me not the doll who is only plastic) Her body and limbs are well on the way today but no photos yet. 
 Below is Spring in progress finally. There are only a few daffodils in the garden this year as they were all messed around in the tree moving, and chamomile planting. I must plant lots in November.
The rain is back and it is milder now. The garden is happier I think.
Below is a lining for a crochet bag I am making for my friend. She liked the bag the Judi Dench character has in Chocolat which is straw I think, and I am attempting to recreate that in crochet. The circles were easy enough, but working out the rest of the bag is slightly trickier. I am nearly there-just need to do some handles and put poppers in.
I have been meaning to have another go at crochet slippers after the last disaster which I am not sure if I put on here or not but they were not good, and just found this great tutorial on a blog called Zoom Yummy, via another blog called 2 Create in Colour, via tumblr. They look easy so I am going to give them a go when I have finished the doll and the bag.

Friday 12 April 2013

D.I.Y.

The d.i.y. in question is in the bathroom. It is a bathroom with no window, a small extractor fan, a non-working radiator that we really should get fixed, and added to all that the grout is stained-an orangey tone which I think is from shampoo. I have tried all sorts of cleaners and none of them work. Hence the soft focus-I can talk about it but I don't fancy sharing it! Because of frequent soakings with water from the shower the other problem we had was horrendously rotted boxing in of the pipes in between the bath and toilet, and collapse of the tiles at the end of the bath-with rotten wood beneath. So, no showers for months now, only time consuming and water sapping baths. I was going to ask my brother to fix it, in fact he kind of offered on one occasion. But I suddenly became gripped with the thought that I could do it myself. So, on and off for the last two weeks I have been doing just that! It would not be an exaggeration to say that I am very proud of myself, not only for doing this but for not losing patience with it. In fact I even enjoyed it. There is a lot to be said for transferable skills. This kind of work has a lot in common with art processes (messy, sticky, sometimes poisonously chemical materials) and sewing (measuring, pattern making) It is also a problem solving activity and I really enjoy that aspect of making anything. I am also grateful to Google and the many people who spend their time putting useful information out there for me to find. (Can I seal tile grout with pva? No. Is it ok to use exterior weather-shield paint indoors? No-it contains fungicides. How do I cut tiles? With a variety of tools, the cheapest and easiest being the tile scribe. And so on.)
Here is what I did, should you be even remotely interested, and should I want to look back in a year when it has broken again and I need to repeat the whole thing. 
I removed the old tiles, and as much of the accompanying grout as possible. A craft knife was very helpful here and a razor-the plastic kind, not just a blade, was also useful. I cut away as much of the rotten wood (that had been supporting the tiles) as possible, then used a wood hardener for rotten wood. I stuck a piece of wood to the top of the left hand piece. I cut a piece of wood to stand on the other side where there was none, to support my new tile support. I had to adjust this with another piece of wood due to not very accurate measuring, but it worked ok.
I squirted some silicone on top of the rotted wood in the corner, and also some between the wall and the wood I had put in. The more waterproofing the better. Then I glued a piece of wood that I had varnished with yacht varnish on top of the wood supports. I used no nails glue which, I have to say, does not have quite the magical properties I imagined from reading the packaging. It works eventually though.
Because of the height of the existing wood support, which is in line with the underneath of the back of the bath, the piece of wood I glued on is much lower than the surface of the bath. I found some plywood left over from a Suzi Blu course a number of year ago, and cut it to fit. I read somewhere about making wood beneath tiles waterproof by wrapping it in gaffer tape so that is what I did. I siliconed the edges of the  first layer of wood and then the second.

 Now came a tricky moment-tile cutting. I have never done this before so was a bit worried I wouldn't be able to do it. Ha! No problem. I used a tile scribe- a very cheap little tool which I now realise is cheap because it becomes blunt after about 6 or 7 tiles-so not a good tool for lots of cutting, but fine for what I needed. I read how to do this and it said to push on the two edges after scoring and they will break. That didn't work for me though as the piece I was cutting off was too narrow. I developed my own method of gently tapping with a hammer. My success rate was about 50% so it is lucky that I only had to cut three tiles, and I had quite a few left over. Above you can see a perfect example and one of the broken ones. If doing this my advice is to score the tile really well. I used the edge of another tile as a guide.
 My greatest achievement is below. It doesn't look much I know, but it is! The rotted boxing in provided a template, and then I found some more plywood, my little hacksaw, and that was it! I also fixed another piece of wood to the end of the wooden panel on the side of the bath where the mdf that was there had rotted.
 So, all the final pieces of the operation are falling into place today. Painting the boxing, grouting the tiles, fixing the edge of the bath back on, and that is it! My eventual level of tiles is slightly lower than the back of the bath, but an absorbent cloth and conscientious wiping should deal with that.
Back to real work on Monday, instead of minor house repairs and decluttering. Oh well!

Thursday 11 April 2013

Rye-Things I Didn't Buy and Places I'll Never Live

Rye, home of the great little selection of antiquey junk shops, or vice versa. More expensive in some cases than Hastings, but often cheaper than Greenwich. My favourite shops in the little group that my friend and I like, are one with two floors and lots of different traders-you never know what you will find, and a 'kitchenalia' (I don't like that word) shop that specializes in enamel ware, baskets, cooking equipment and little modern handmade things that are pretty and sweet. It is museum like in the range of things it stocks, and the interest in looking round, and the colours in the shop are lovely pastels, whites and the natural tones of wood, wicker and metal. Also the woman who runs it is very nice-not always the case with antique dealers I have found!
Loads of pictures today as there was so much to look at. We wandered up a bit from our normal haunts and the older part of the town is just beautiful. We discovered that Henry James lived there for a while. We found a pink vicarage and a friendly black cat with a stumpy tail. 
 Weird thing to decorate but pretty.
 Love it, but sensibly realised I have far too many things like this hanging around my house and filling its limited space.
 The rope was actually quite a bargain, compared to new rope from B and Q.
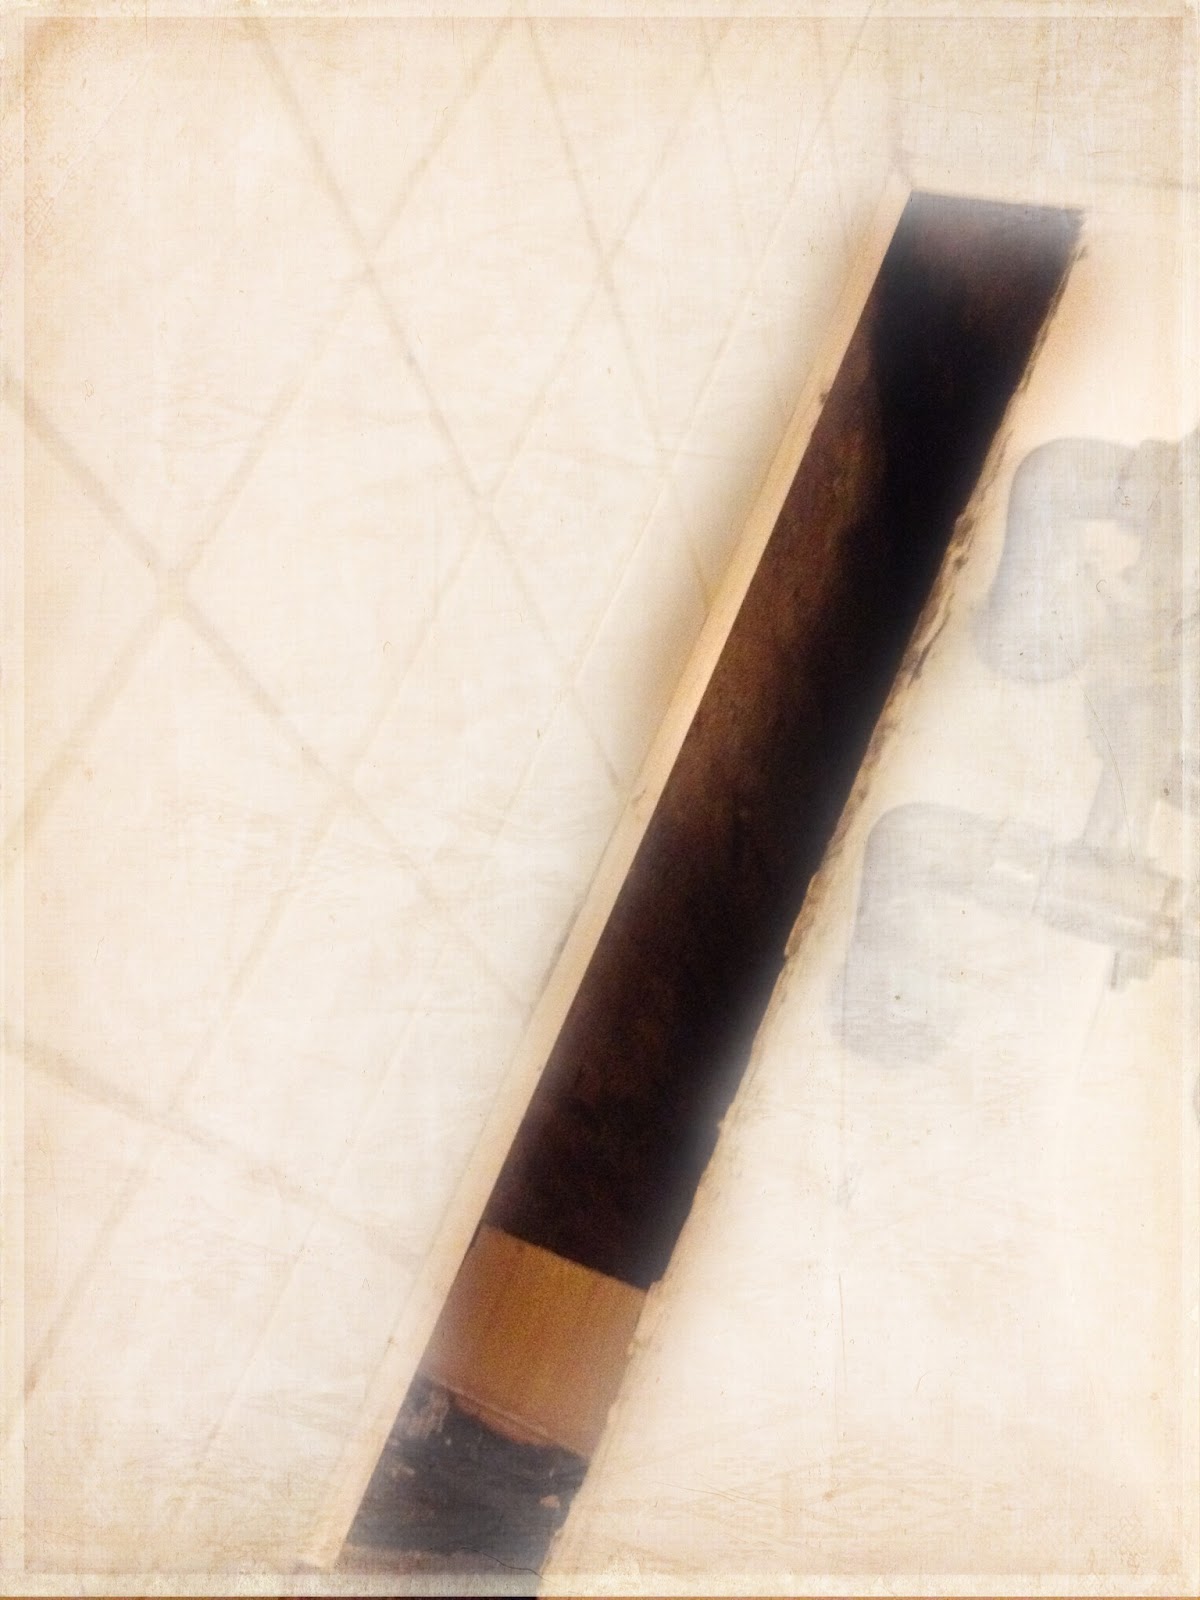
 As was this piece of coral, compared to the two pieces we saw in a far more pretentious shop, where similar pieces were £45!
 Incredible wisteria on Mermaid Street.
 Proving that the olden days had a sense of humour-the house with two front doors ha ha! Only one letter box though. But two knockers.
 Pretty Easter wreath still up. 
 False flowers-if I lived on this street-or any street-I would not put false flowers in a hanging basket. They did that at the school we borrowed rooms from for a while. Bright orange pansies that will bloom garishly all year.
 What a whimsical name this street has. I can't believe I have not walked up there before. We discovered The Mermaid Inn-a 15th century inn that is the perfect place to have a cosy lunch. Big inglenook fire, delicious haddock and chips, and a half of shandy-yum!
 Looking down Mermaid Street. The Mermaid is on the right.
 This chapel is on the edge of the church square and is converted into a house.
 This handsome cat was waiting on the windowsill of a black and white Tudor building, and was most friendly. He escorted us along the street until what I suppose is the edge of his (very lovely) territory.
 This is an 18th century water tower.
 The pink vicarage. It is more salmon pink than it looks in the photo.
 This is the house for me. Perfect for the cats as they can use the front door, or nip up and down the tree and in and out of the upstairs window.
 Moss has made the hair and crown of this stone face soft and green. Magic moss.
 We popped into this shop-I wanted to look at the perspex pretend lamp light. We popped out again when I saw it costs over a thousand pounds!
 My attention was taken by this display. Unusual is a kind way of putting it. Weird is a less kind way-and normally I like weird, but for me this goes too far. A rugby playing ballerina drummer with a scary sheep mask face? No!!!!!
 Sweet shop-I like the old sign and a traditional sweet shop is always a good thing. Though I didn't buy any sweets, what with all the flapjacks, cookies and cakes this week I have already had more than my quota of sugar.
Sweet house in a courtyard. Not quite as good for the cats but not bad.