The d.i.y. in question is in the bathroom. It is a bathroom with no window, a small extractor fan, a non-working radiator that we really should get fixed, and added to all that the grout is stained-an orangey tone which I think is from shampoo. I have tried all sorts of cleaners and none of them work. Hence the soft focus-I can talk about it but I don't fancy sharing it! Because of frequent soakings with water from the shower the other problem we had was horrendously rotted boxing in of the pipes in between the bath and toilet, and collapse of the tiles at the end of the bath-with rotten wood beneath. So, no showers for months now, only time consuming and water sapping baths. I was going to ask my brother to fix it, in fact he kind of offered on one occasion. But I suddenly became gripped with the thought that I could do it myself. So, on and off for the last two weeks I have been doing just that! It would not be an exaggeration to say that I am very proud of myself, not only for doing this but for not losing patience with it. In fact I even enjoyed it. There is a lot to be said for transferable skills. This kind of work has a lot in common with art processes (messy, sticky, sometimes poisonously chemical materials) and sewing (measuring, pattern making) It is also a problem solving activity and I really enjoy that aspect of making anything. I am also grateful to Google and the many people who spend their time putting useful information out there for me to find. (Can I seal tile grout with pva? No. Is it ok to use exterior weather-shield paint indoors? No-it contains fungicides. How do I cut tiles? With a variety of tools, the cheapest and easiest being the tile scribe. And so on.)
Here is what I did, should you be even remotely interested, and should I want to look back in a year when it has broken again and I need to repeat the whole thing.
I removed the old tiles, and as much of the accompanying grout as possible. A craft knife was very helpful here and a razor-the plastic kind, not just a blade, was also useful. I cut away as much of the rotten wood (that had been supporting the tiles) as possible, then used a wood hardener for rotten wood. I stuck a piece of wood to the top of the left hand piece. I cut a piece of wood to stand on the other side where there was none, to support my new tile support. I had to adjust this with another piece of wood due to not very accurate measuring, but it worked ok.
I squirted some silicone on top of the rotted wood in the corner, and also some between the wall and the wood I had put in. The more waterproofing the better. Then I glued a piece of wood that I had varnished with yacht varnish on top of the wood supports. I used no nails glue which, I have to say, does not have quite the magical properties I imagined from reading the packaging. It works eventually though.
Because of the height of the existing wood support, which is in line with the underneath of the back of the bath, the piece of wood I glued on is much lower than the surface of the bath. I found some plywood left over from a Suzi Blu course a number of year ago, and cut it to fit. I read somewhere about making wood beneath tiles waterproof by wrapping it in gaffer tape so that is what I did. I siliconed the edges of the first layer of wood and then the second.


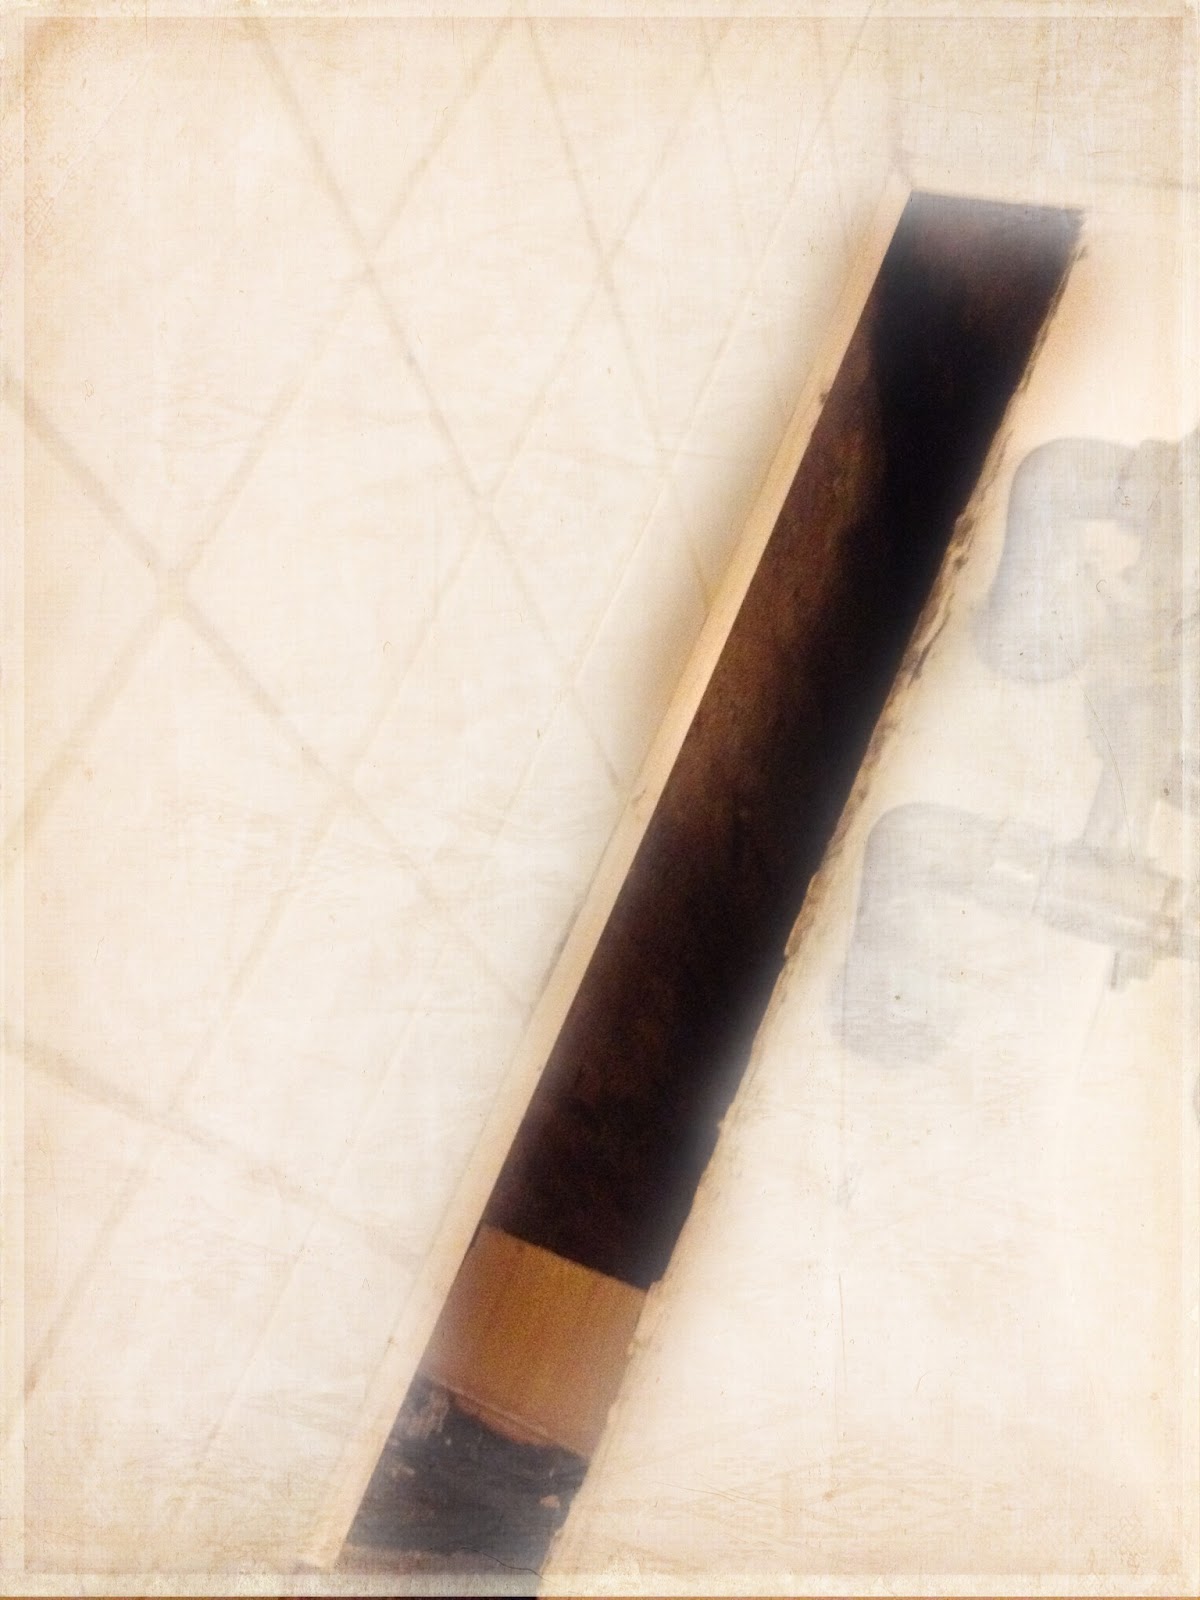
Now came a tricky moment-tile cutting. I have never done this before so was a bit worried I wouldn't be able to do it. Ha! No problem. I used a tile scribe- a very cheap little tool which I now realise is cheap because it becomes blunt after about 6 or 7 tiles-so not a good tool for lots of cutting, but fine for what I needed. I read how to do this and it said to push on the two edges after scoring and they will break. That didn't work for me though as the piece I was cutting off was too narrow. I developed my own method of gently tapping with a hammer. My success rate was about 50% so it is lucky that I only had to cut three tiles, and I had quite a few left over. Above you can see a perfect example and one of the broken ones. If doing this my advice is to score the tile really well. I used the edge of another tile as a guide.

My greatest achievement is below. It doesn't look much I know, but it is! The rotted boxing in provided a template, and then I found some more plywood, my little hacksaw, and that was it! I also fixed another piece of wood to the end of the wooden panel on the side of the bath where the mdf that was there had rotted.
So, all the final pieces of the operation are falling into place today. Painting the boxing, grouting the tiles, fixing the edge of the bath back on, and that is it! My eventual level of tiles is slightly lower than the back of the bath, but an absorbent cloth and conscientious wiping should deal with that.
Back to real work on Monday, instead of minor house repairs and decluttering. Oh well!


4 comments:
Nice work, Sarah. Going at a problem like it is another fun art project is a good way to make it more enjoyable and learn all kinds of things along the way.
Good for you.Real work on Monday will be a doddle after all that DIY
Well done, Sarah! I am almost speechless with admiration as I know full well that's a job I would never finish. School will be a rest cure after that (I jest!)
Good Job and no body is there to criticize - Only kudos and gratefulness for hard work- way to go!
Post a Comment