Sunday 31 January 2016

Signs

Well, the week of sign painting is over and I am exhausted! I was not sure how much I was learning at times, but I do seem to have picked up quite a lot in the end. 
Practising drawing letters, getting your thick and thin strokes right, and then beginning to draw words.
On day two we started by painting circles and lines, then whole words. It was difficult and quite frustrating.
I stayed for the week in a private house that becomes a B and B for the courses. It was a lovely place, with a very welcoming couple, and my fellow guests Joe and Mick were great company all week. We visited The Bear in Maidenhead three times! It is a Wetherspoons, and so is extremely cheap!
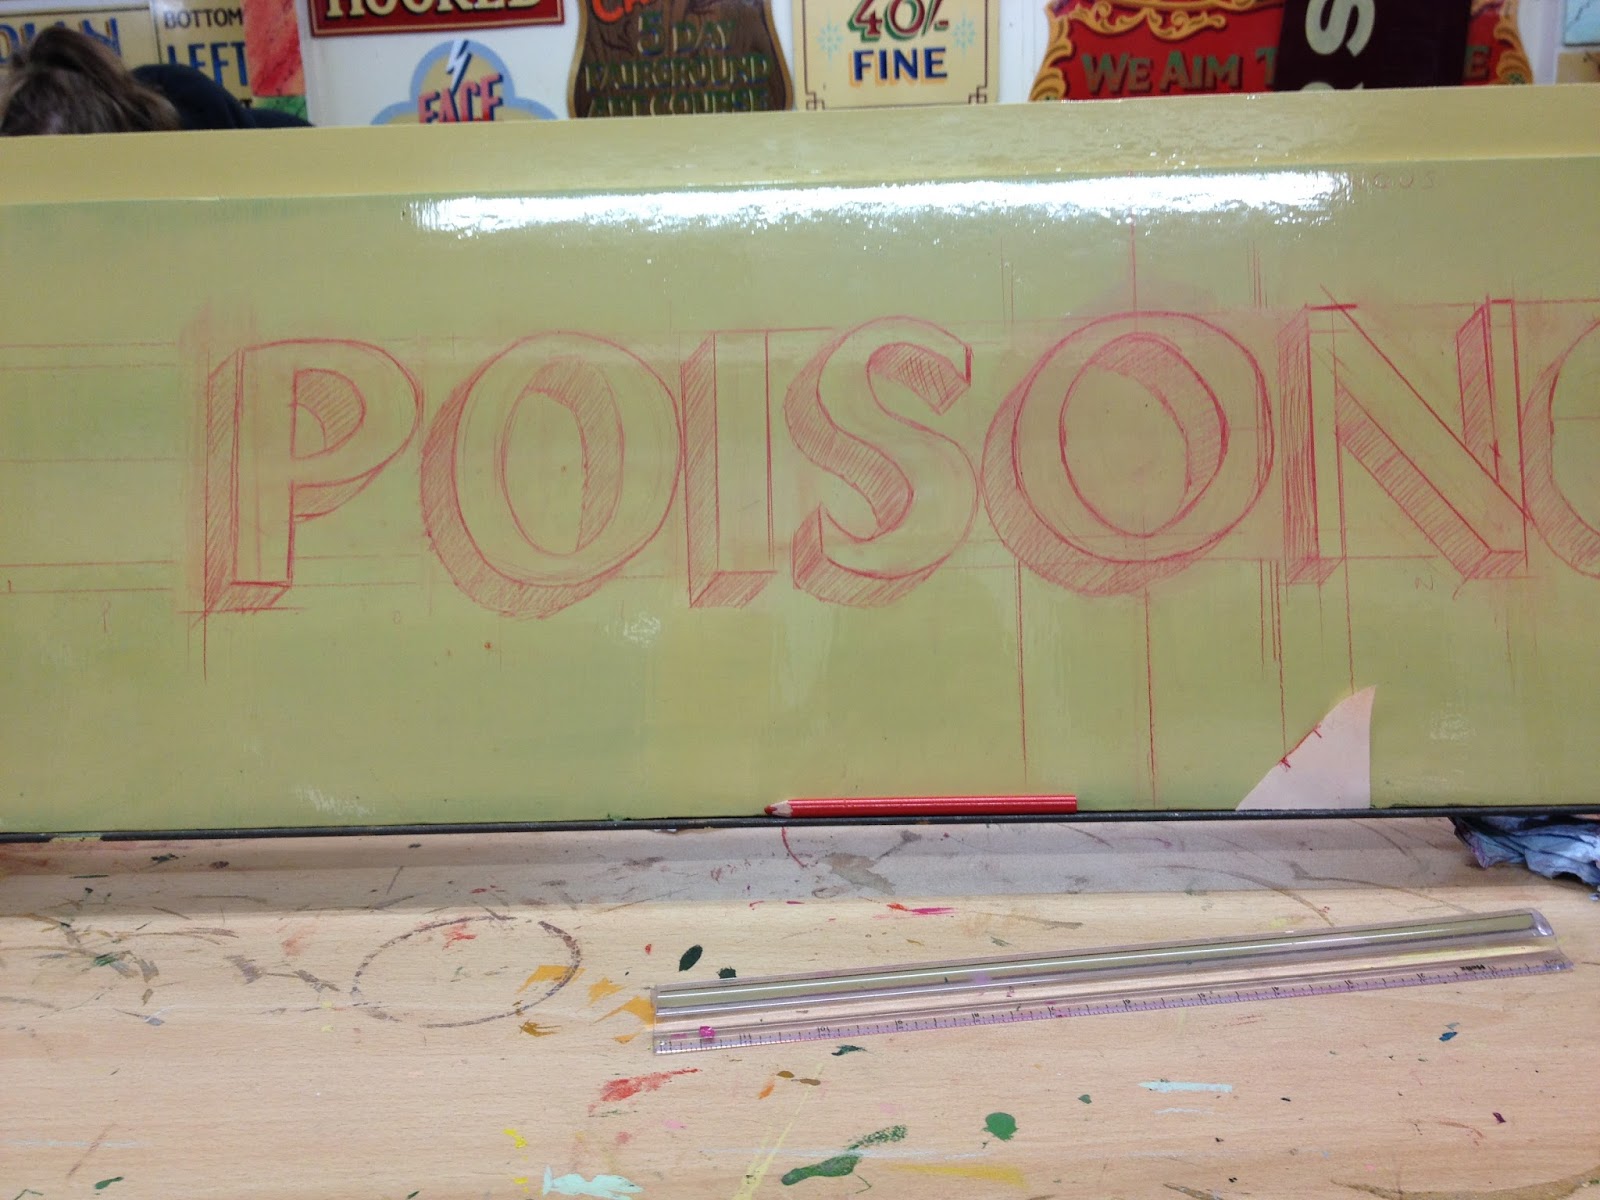
On Wednesday Joby Carter, the man who runs the course, showed us how to measure and draw block shadows on a letter. For me, this was a revelation. I have tried to do them before, but with no idea how. Unlike the spacing of your letters, ('if it looks right, it is right'-Joby's little saying with regards to this) there is an actual rule, which, when applied, works every time. I am so pleased I finally understand this!
Choose your shadow thickness, mark on the horizontal and vertical, get the angle on the corner, then use this measurement to work out your shadows on the curves. This was based on a 45% angle and this can be varied.


Painting the block shadows rather than the letters. 
More practise...
Painty, splattery shelves. There is a lot of white spirit used in repeatedly cleaning off your practise board. On Wednesday it became quite unbearable at times. It made me cough a lot!
Joby demonstrating on a sign he was working on. He demonstrated quite a lot of techniques. It was a week that made me realise I have a lot to do if I ever want to become any good at this. Joby Carter runs a Steam Fair-literally a fair run by steam, as in Victorian times. In the winter the work is all about repairing and maintaining the rides. He paints and works on signs during the course, demonstrating different things as he does so.
Below are examples of pattern making using a lining brush, a long skinny brush. I had a go. Tricky! In the photo above he is using the brush to add lines along the edges of the sign.
This is one of my practise words-chosen because it had lots of o''s and s's-both very difficult to get right.
On Wednesday evening, I decided that my final word would be PEARL. This word has no special significance, but it contains letters I felt reasonably confident at attempting!
I had a difficult morning on Thursday. I couldn't do the measuring, and, in the end, got Mick to draw my three main guidelines! There was a bit of an issue with blaming tools, but the rulers were not very good, the chinagraph pencils were blunt (and impossible to sharpen with the blunt knife available) and so there was a 2mm gap between where the ruler was and the pencil made a mark. Anyway, after three attempts, I finally managed to mark my word out. I even managed to paint the letters in blue before I went home. When Joby does a sign, he roughly marks it out and then starts painting. He is so good at the painting that he does not need the many guidelines and exactly drawn letters that I do. So, for me, the majority of the work goes into the preparation, and the actual painting part is a massive relief to do!

Lots of signs to look at for inspiration. 
I wanted to see gilding, and Joby demonstrated this on Friday. How he did it is more or less the same as I have done it in the past, except he used 'whitening', a fine powder that you brush over the area before painting on the size, to prevent the gold from sticking onto other painted areas.
My sign finished! It may not look much but it was very difficult, so I am quite proud. I went out yesterday to get some plywood, which I am painting with gloss paint in the shed, and will then use to have another go. In the meanwhile I am practising drawing letters, looking at books on calligraphy and typography, and looking around the house for things I can paint. (there are lots!)
Joby showed us how he paints swirls. The top one is his and the bottom is mine-as you can tell. 
The week has given me a taste of sign writing, and now it is up to me to practise lots more. Put it this way, I know a lot more about what I can't do! I need to work on my measuring and accuracy first, as that is really quite appalling. Getting a straight and level line was one of my major difficulties. Then, even when I did all my letters were slanting to the right. I will share any practise signs I make and would welcome constructive criticism!

Saturday 16 January 2016

Lunchtime Sights

We met Andy's sister for lunch today in Mayfair. The restaurant we went to is called The Wolseley and is lovely. I have not been there before. It is very grand but not at all stuffy, and not really expensive either. I didn't take pictures as it seemed the wrong thing to do but there are lots on Google images. Afterwards we wandered around for a bit. Andy looked in the windows of lots of posh clothes, hats, shoe and shaving shops and I looked up. There is currently an exhibition in central London and Canary Wharf called Lumiere, with lots of light installations around the place. I saw a bit on the news the other night, and this hanging man was on there. I think he may be a tightrope walker.  I like him and his other chicken wire companions in the daylight too. 


                                                       A bit of street corner heraldry.

Love this sign!
 Andy spotted the stuffed cat in the hat in the hat shop. I didn't get a very clear picture though. 


  Beautiful mosaic patterned dome. 

 More lights. 
 Fairy castle turrets. I think this was on Regent Street but it may not be.

Friday 15 January 2016

New Crafts

2016 can be the year of learning new things for me-at least for the moment. I have discovered a new craft-though strictly that was in 2015 but I will continue it this year. It is apparently an old craft, and I don't know how I could have missed it. It is called needle punching and can be used to make rugs if you have a big needle (I have ordered a big one but it is taking a long time to fly here from America) You use a punch needle, which is long and hollow. You use a wire threader to pull the thread though the needle, and then through the needle's eye. I discovered this by finding a kit for £4 in the charity shop (where else?!) It had some rolls of thin wool yarn, some transfer pictures and a red thing and I thought I would take a chance. When I got it home I realised the red thing is a clever tool with the needle inside. You turn the handle to change the length of the needle and the roll of thread fits onto the top so you have a continuous supply. Then you push the needle through the back of the fabric, it makes a tiny loop, you move the needle along a tiny amount, punch again and gradually fill the area with the colour. It gives a lovely texture, like a very small rug, and is easy to do. I bought the kit on the Monday of the school holidays before Christmas, made my brother a present in time for Christmas, and my Dad one in time for Boxing Day. The picture below is my last one, which is for me. A moody face, of my preferred type!
 The plastic ring also came with the kit. It is quite sturdy and fairly large. 
 I embroidered the jumper. 
 The other good thing about this kit is that I already had lots of rolls of the thin wool. I bought them ages ago in another charity shop, and had not used them much as they are a bit thin for crocheting and I don't do much embroidery.
 The hardest part to do was the tiny highlight in the eye. 
On the back you leave about an inch of thread at the start and the end of each colour. If you pull on the thread it all comes out so mistakes are easy to rectify. I put an interfacing and felt backing on the ones I gave away to stop any threads pulling out, though I did frame them. 
 The black hair took ages. 

 The red on the cheeks didnt work so I just used solid pinks in the end. 


These are the other pictures I made. A portrait of Sadie with a Santa hat for my Dad.
The Amineko Christmas cat was for Joan, his wife. 
 I made a sugar skull for my brother. Here it is in its new gothic setting!
 This is traced from one of the pictures that came with the kit. Kitsch bunny!
My other new thing for this year is sign writing. 
I am about to do a week long course to learn this skill. I have always enjoyed drawing and painting lettering, and have had an interest in signs too. I love seeing the so called 'ghost signs' left over from past advertising. I hadn't really thought about learning to sign write, then I saw a post on Louise's blog (my friend and I went on a course that Louise ran a few years ago about how to make your own rubber stamps. She is a multi-talented lady!) about a course she had been on, and immediately wanted to go on it too. And, two years later I am about to. I am a bit nervous but very excited too. I have just finished reading a book on sign writing, and it has made me feel slightly pre-informed. The course is run by Joby Carter, and is at his vintage fairground. I am as excited about seeing the place as I am about the course. I will be staying in a B and B which is not really one, but is someone's house and they rent rooms to people doing the course. I expect to take lots of photos!